


ORGANIZE YOUR DESKTOP WITH DESKSPACE VIRTUAL DESKTOP
DeskSpace is virtual desktop software that gives you more space for your windows and icons. You can eliminate desktop clutter by arranging your windows and icons across up to six desktops, all easily reachable by navigating a desktop cube.
DeskSpace gives you separate desktops for each of your day-to-day tasks, and lets you quickly and easily switch between desktops and the applications on them.
DeskSpace lets you have different desktop wallpapers and icons on each desktop. You can also choose a name and picture for each desktop, to make them easier to recognize.
DeskSpace runs on low-end netbooks, high-end desktops, and everything in-between. You can run DeskSpace on up to nine monitors, and it works on both 32-bit and 64-bit versions of Windows XP, Windows Vista, Windows 7, and Windows 8.
FEATURES AND BENEFITS
With DeskSpace you can:
- Work and play on multiple desktops.
- Display multiple desktops in stunning 3D.
- Quickly switch between desktops using the mouse and keyboard.
- Drag windows between desktops by moving them to the edges of the screen.
- Configure the hot keys and mouse buttons used to switch between desktops, and how DeskSpace displays and manages desktop.
- Display the DeskSpace desktop cube on up to 9 monitors.
DeskSpace comes with built-in support for English, Spanish, French, German, Italian, and Japanese.
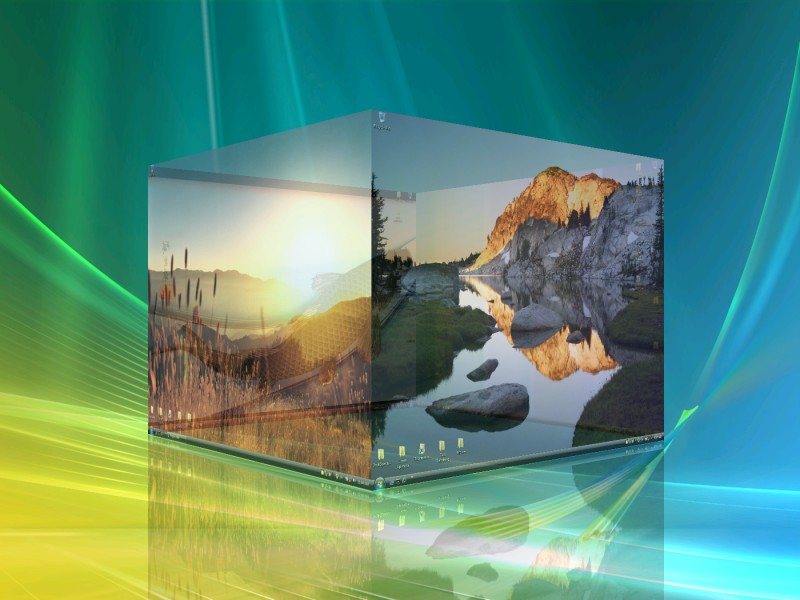
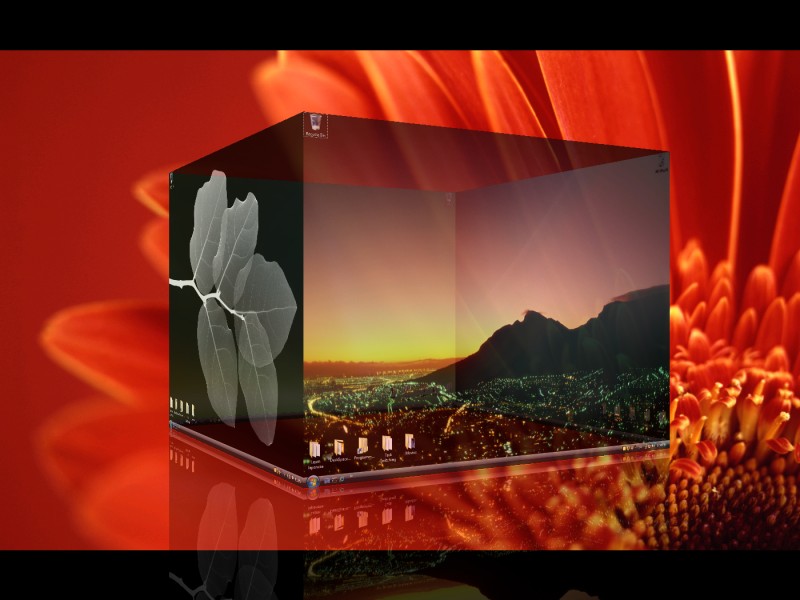
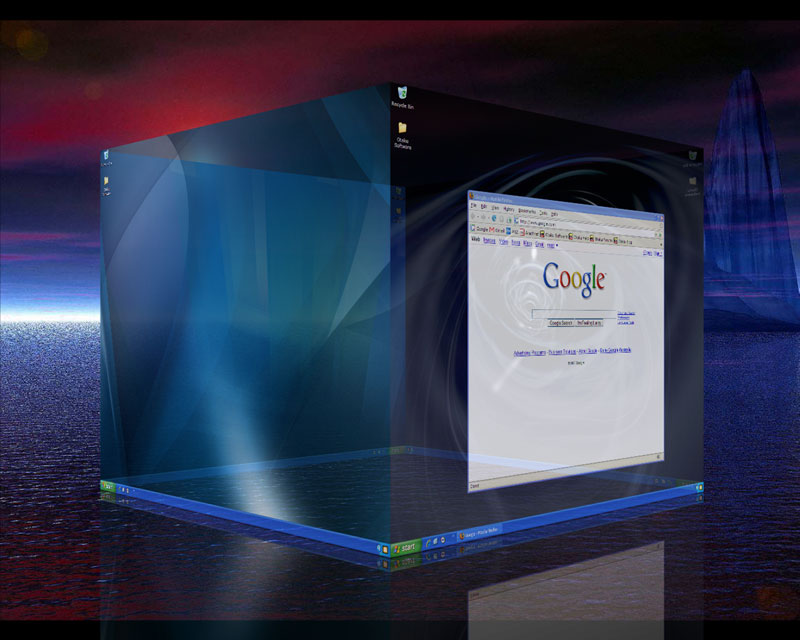
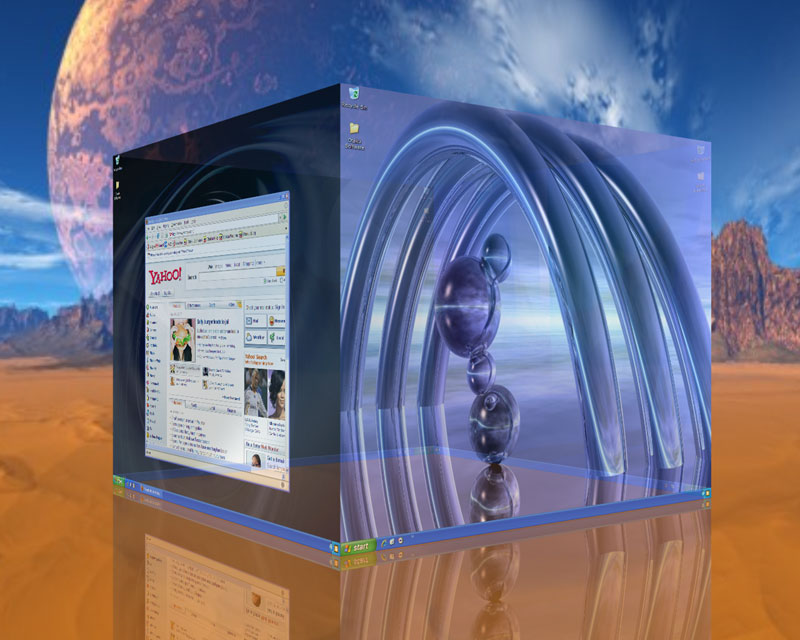
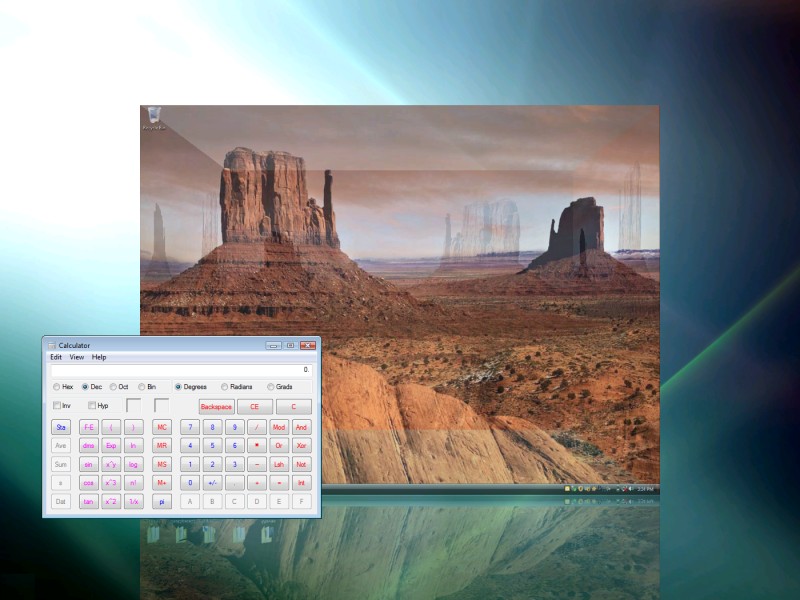
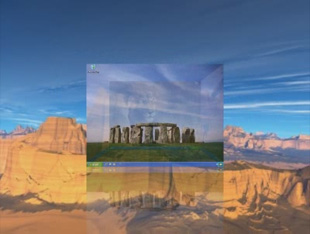
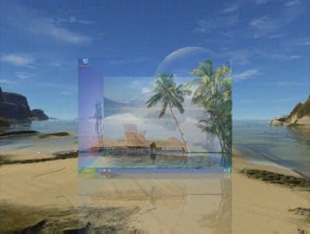
SCREENSHOTS
Click a thumbnail to view a larger image

VIDEO
Click a thumbnail to view a video

SYSTEM REQUIREMENTS
The minimum system requirements for DeskSpace are:
- Windows XP SP2, Windows Vista, Windows Vista 64-bit, Windows 7, Windows 7 64-bit, Windows 8, and Windows 8 64-bit.
- 800 Mhz CPU.
- 256 MB RAM.
- 16 MB DirectX 8.1 compatible video card *.
* Minimum ATI Radeon 7200 or nVidia GeForce 2 required. Video cards based on the nVidia TNT2, ATI Rage Pro/128, and Intel Extreme chipsets may work, but are not supported.
WHAT'S NEW?
The current version of DeskSpace is 1.5.8.14. Click here to find out what's new.
FREQUENTLY ASKED QUESTIONS
Can I try DeskSpace before I buy it?
Yes, in fact we recommend that you try DeskSpace before you buy to make sure it's exactly what you're looking for. Click here to download a 14 day trial version of DeskSpace.
Is DeskSpace compatible with other programs on my computer?
Yes, DeskSpace is compatible with most other Microsoft Windows programs. If you'd like to make sure DeskSpace works with all your programs, click here to try DeskSpace before you buy.
Can I turn off DeskSpace when I don't want to use it?
Yes, you can turn off DeskSpace at any time and it will automatically restore your desktop back to normal.
How do I install DeskSpace on my computer?
To install DeskSpace on your computer:
- Go to the Help page, enter your email address and order number, then click the Download button.
- A window will open asking what you want to do with a file called DeskSpace15814Setup.exe. Click Save.
- Go to the location you saved the DeskSpace15814Setup.exe file to and double-click on it.
- The DeskSpace Setup Wizard will appear and guide you through the rest of the installation.
- After the installation has finished, DeskSpace will automatically run and the DeskSpace icon will appear in the system tray.
How will I know a new version of DeskSpace has been released?
New releases are announced on the Otaku Software Blog and on the Otaku Software Forums. We love to hear feedback on new versions, so please feel free to drop by the Blog or Forums and let us know what you think.
If I have a question about how to use DeskSpace, how can I get help?
If you have a question about DeskSpace, click here to see if it's already been answered on the Otaku Software Forums. If you can't find an answer to your question in the Forums, click here to ask Otaku Software Support.
How do I report DeskSpace bugs?
We treat all bug reports extremely seriously. We work hard to make sure DeskSpace is as bug free as possible, and we always try to fix the problem as soon as we can. Click here to report a bug in DeskSpace.
I have a suggestion on how to improve DeskSpace, how do I let you know about it?
We're always happy to hear how we can make our software even better, and we welcome any suggestions or criticisms you have. Click here to let us know how we can improve DeskSpace.